Jolly Jack-o-Lanterns: 10 Steps to Follow for Pumpkin Carving Perfection
Articles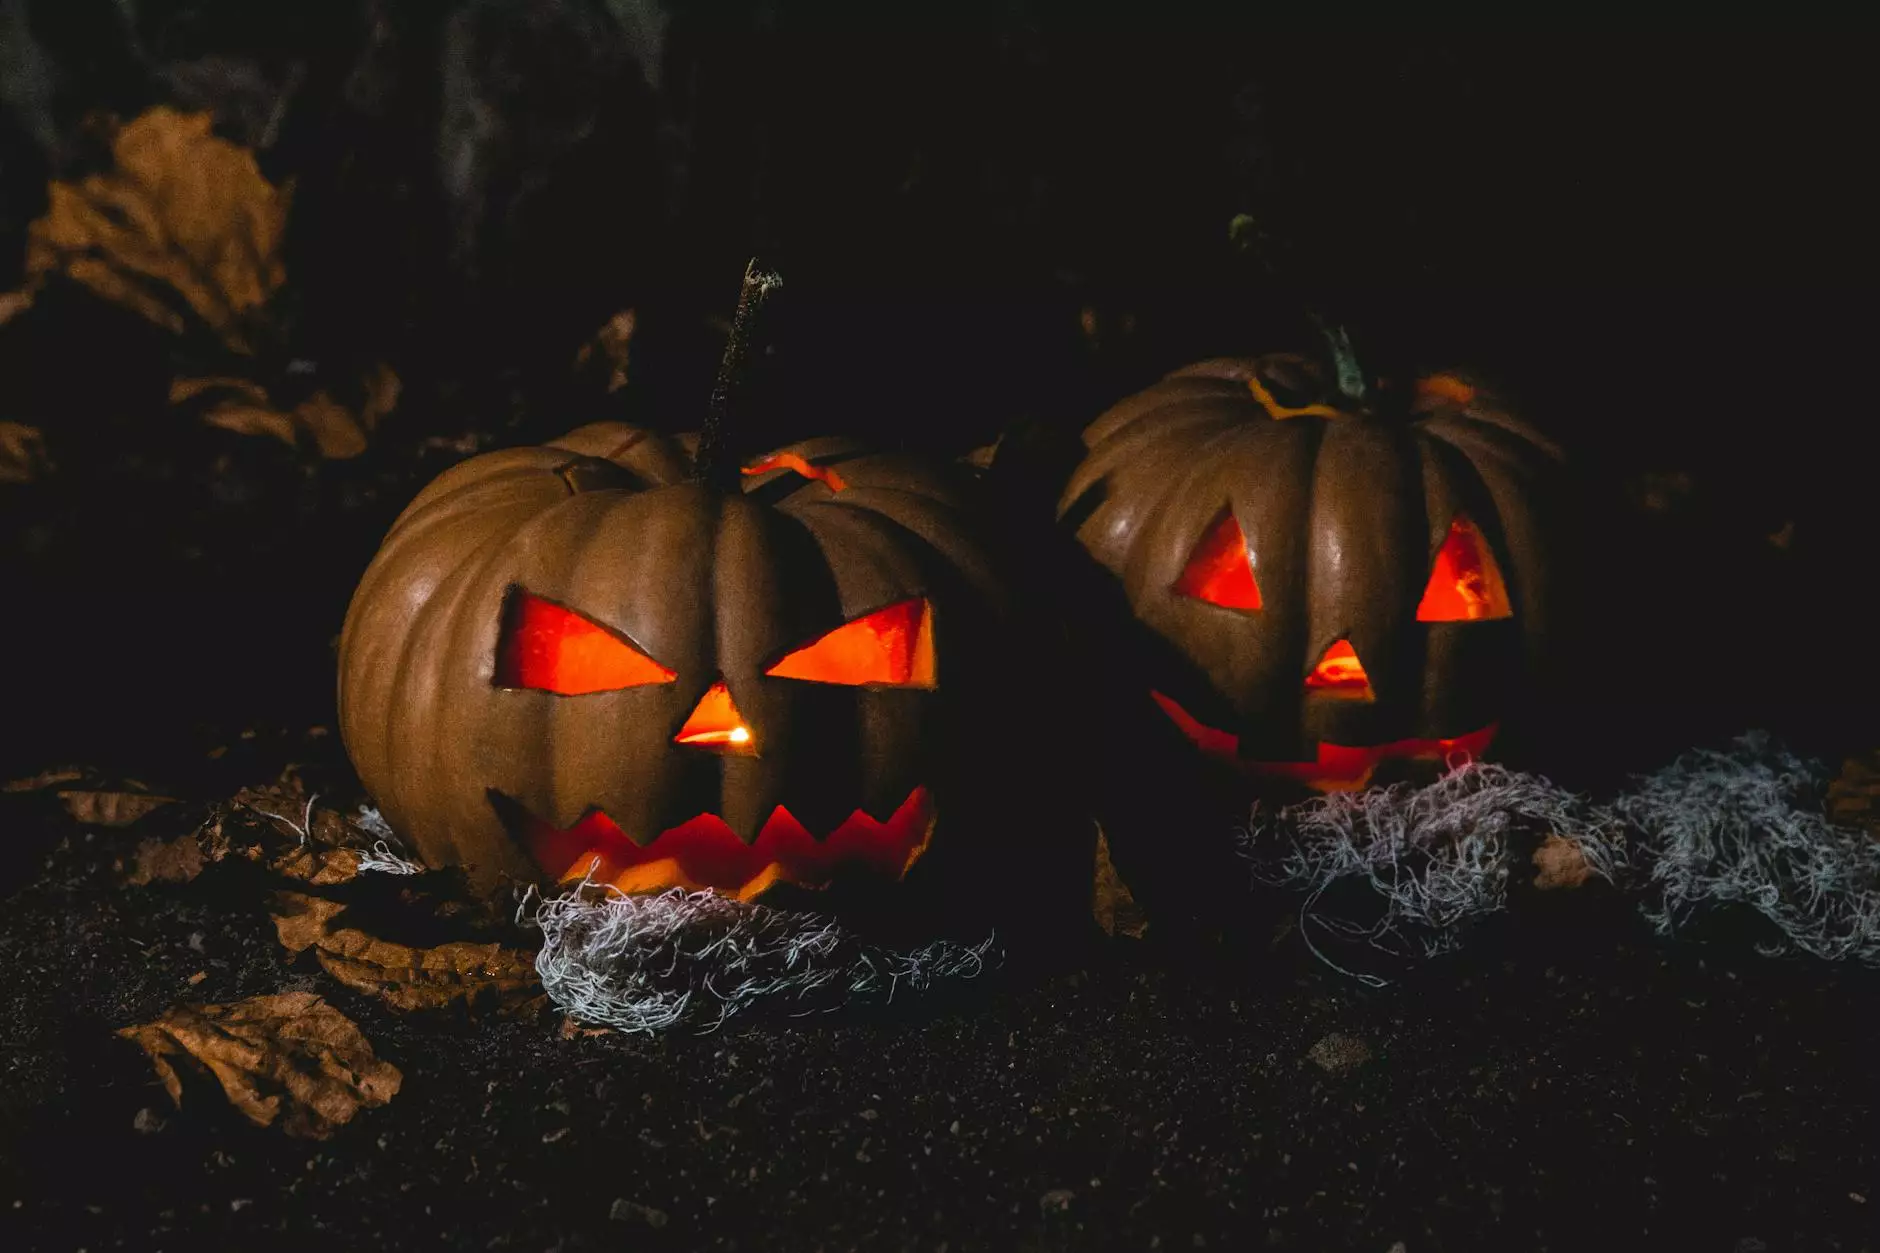
About Big Grill Shop
Welcome to Big Grill Shop, your ultimate destination for all things BBQ and outdoor cooking! With our vast collection of grills, smokers, and accessories, we cater to the needs of both professionals and enthusiasts. In addition to providing top-quality products, we also offer valuable resources and guides to enhance your cooking experience.
Introduction to Pumpkin Carving
Pumpkin carving is an age-old tradition associated with Halloween, bringing joy and creativity to both children and adults. At Big Grill Shop, we recognize the importance of carving the perfect Jack-o-Lanterns for a truly spooktacular celebration. Our team of experts has compiled this comprehensive guide to help you achieve pumpkin carving perfection in just 10 simple steps.
The Advantages of Carving Your Own Pumpkin
Carving your own pumpkin can be a rewarding experience for several reasons. Firstly, it allows you to express your creativity and showcase your unique personality. Whether you opt for a traditional spooky face or an intricate design, carving your own Jack-o-Lantern guarantees a one-of-a-kind Halloween decoration. Additionally, pumpkin carving is a great activity to bond with friends and family, creating lasting memories during the holiday season.
Step 1: Selecting the Perfect Pumpkin
Choosing the right pumpkin is crucial for achieving carving perfection. Look for pumpkins with a firm skin, free from bruises or mold. The size of the pumpkin should match your desired design, ensuring you have enough space to bring your creativity to life. At Big Grill Shop, we have a wide selection of pumpkins available for purchase, ensuring you find the perfect canvas for your Jack-o-Lantern masterpiece.
Step 2: Gathering the Right Tools
Having the proper tools is essential for a smooth and frustration-free carving process. Big Grill Shop offers a range of high-quality carving tools and accessories, including serrated knives, carving saws, and pumpkin scoops. These tools are specifically designed to make your pumpkin carving experience easy and efficient, allowing you to achieve precise cuts and intricate details.
Step 3: Planning Your Design
Before diving into the carving process, take some time to plan your design. Sketch out your ideas on paper or use a digital design tool to visualize your Jack-o-Lantern. Consider the level of difficulty, the size of the pumpkin, and your own artistic abilities. Planning ahead will help you create a cohesive and visually appealing final product.
Step 4: Creating a Template
For intricate designs, creating a template can be a beneficial step. Transfer your design onto a piece of paper or use a printable template available online. Secure the template onto the pumpkin's surface using tape or pins. This will serve as a guide during the carving process, ensuring accuracy and precision.
Step 5: Cutting the Top Lid
To begin carving, start by removing the pumpkin's top lid. Use a serrated knife at a 45-degree angle to create a clean and even cut. Angle the knife slightly inward to ensure the lid doesn't fall inside the pumpkin. Set aside the lid as you'll need it later for lighting the Jack-o-Lantern.
Step 6: Scooping Out the Flesh and Seeds
With the lid removed, it's time to scoop out the pumpkin's flesh and seeds. Utilize a sturdy pumpkin scoop or a large spoon to meticulously remove the inner contents. Ensure you scrape the walls of the pumpkin to achieve an even thickness, making the carving process smoother. Save the seeds for roasting later, a delicious treat to enjoy while admiring your finished creation.
Step 7: Transferring the Design onto the Pumpkin
If you're using a template, carefully transfer the design onto the pumpkin's surface. For freehand designs, mark the key features using a washable marker or a toothpick. This step will provide guidance as you begin carving the details.
Step 8: Carving the Design
With your design in place, it's time to start carving! Use a carving saw or a serrated knife to cut along the marked lines. Begin from the center and work your way outward, ensuring steady and controlled movements. Remember to take breaks and assess your progress as you bring your design to life.
Step 9: Illuminating Your Jack-o-Lantern
Once the carving is complete, place a tea light or an LED candle inside the pumpkin. Rest the lid on top, aligning it with the carved edges. This will create a stunning illumination effect, showcasing your Jack-o-Lantern's design. Avoid using real candles unattended, as they pose a fire hazard.
Step 10: Displaying Your Masterpiece
Finally, proudly display your masterpiece for all to see! Find the perfect spot in your home or garden to exhibit your jolly Jack-o-Lantern. Ensure the area is safe and free from potential fire hazards. Take pictures and share your creations with friends and family, spreading the Halloween spirit.
Conclusion
At Big Grill Shop, we believe that carving jolly Jack-o-Lanterns is an essential part of the Halloween experience. By following our 10 steps to pumpkin carving perfection, you'll unlock your artistic potential and create memorable decorations for years to come. Don't forget to explore our wide selection of high-quality carving tools and accessories to enhance your carving process. Happy Halloween and happy carving!